The starting Point
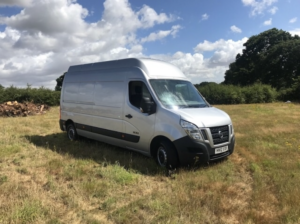
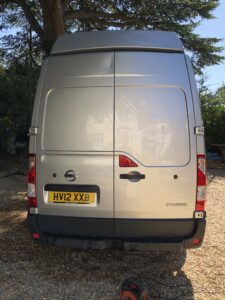
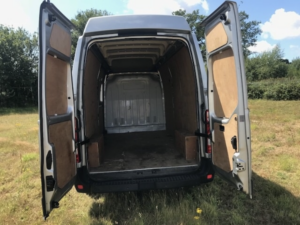
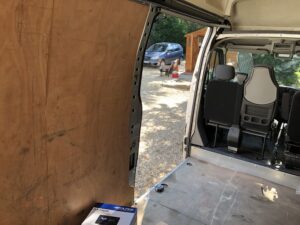
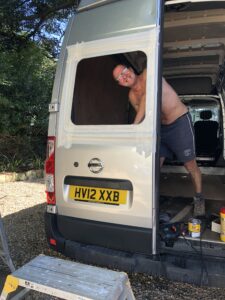
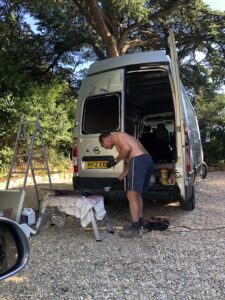
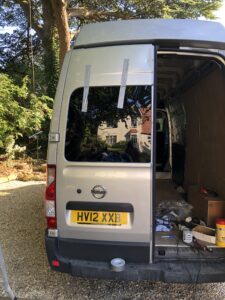
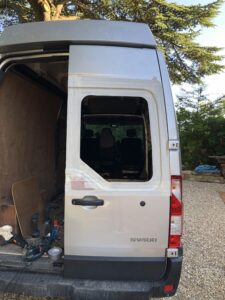
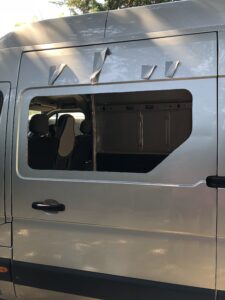
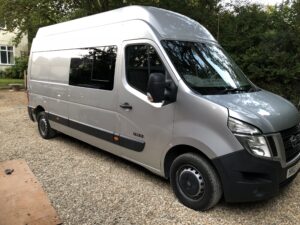
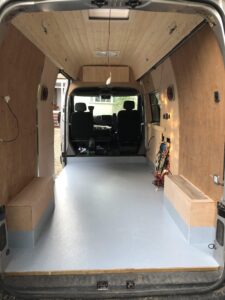
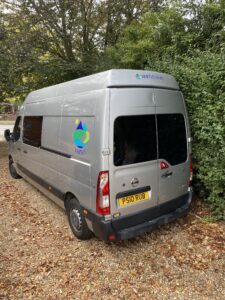
Our 2012 Nissan NV400 High Roof, Long Wheelbase Panel Van. Previously owned by a garage with 250K miles on the clock but generally in good condition inside and out.
Cost? £5k for the van, £8k on the build, a few evenings and weekends (and then some)
Paul
Got the hang of it now
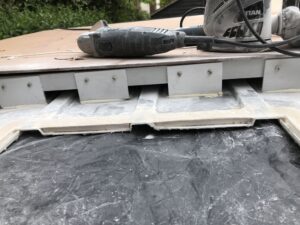
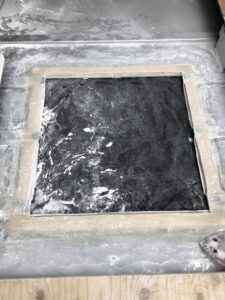
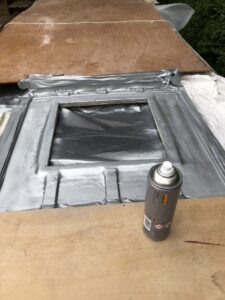
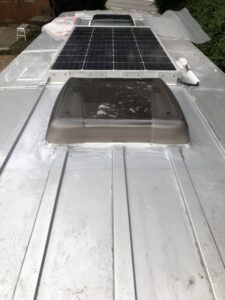
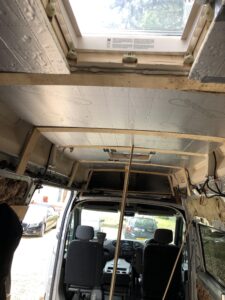
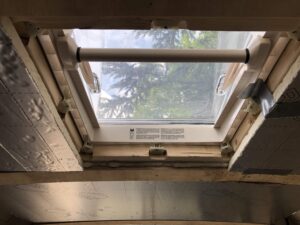
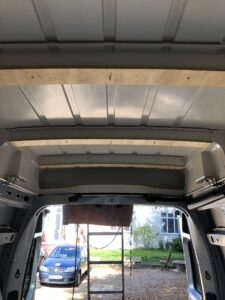
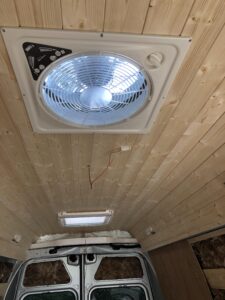
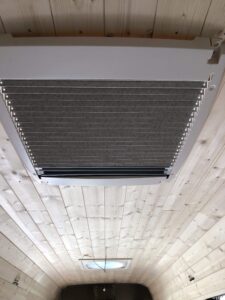
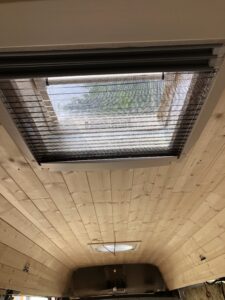
The sides of the van are sheet steel but the roof is fibreglass with corrugations. I needed to fit the front roof fan and rear skylight so cut appropriate holes and built up the space between the corrugations before masticing the vents in. The rear one leaked and after a bit of good advice from Tom at Sunstore I removed the vents and built fibreglass surrounds, primed, sprayed and refitted the vents and they are now watertight.
Insulate, insulate, insulate!
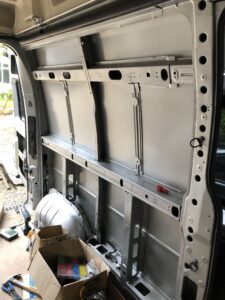
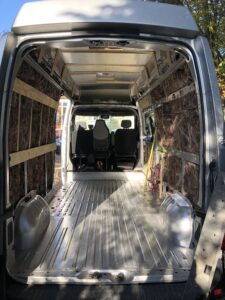
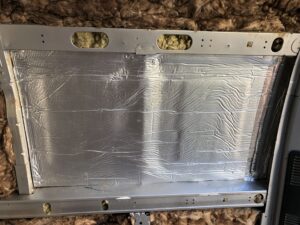
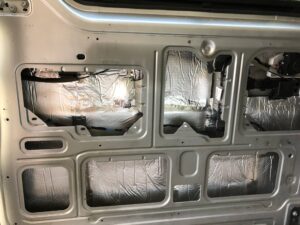
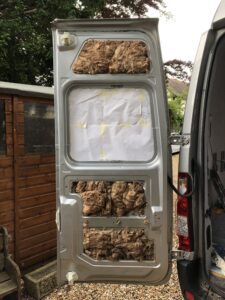
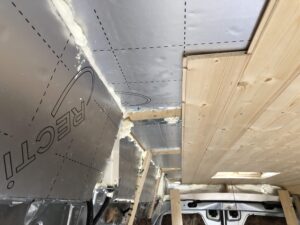
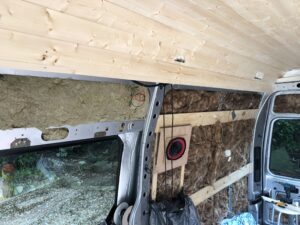
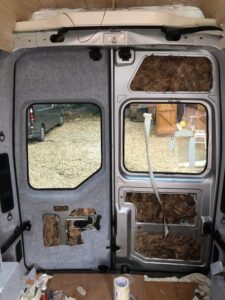
Now add sound deadening sheets, amazing how you only need a A4 sized sheet in the middle of a panel to cut noise and vibration. Next we cut reflective foam to fit all of the exposed panels as the first layer of insulation before filling every nook & cranny with rock wool insulation, including poking small bits into all the holes.
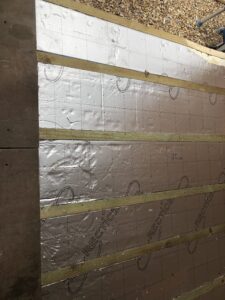
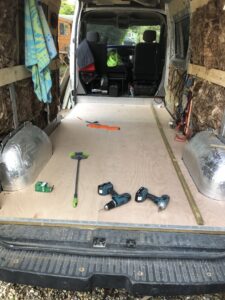
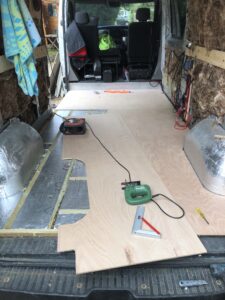
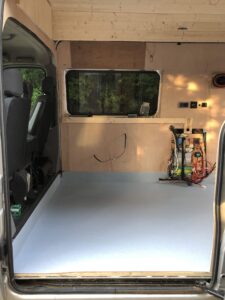
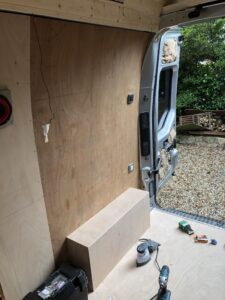
25mm of Celotex insulation laid between wooden joists, wheel arches covered in insulating reflective foam and boxed in. A new 12mm ply floor was then cut and laid (with electric cable conduit installed underneath).
The CEILING
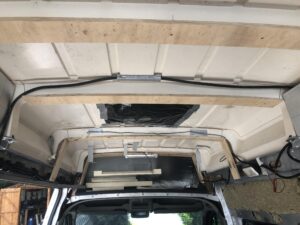
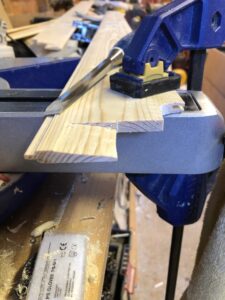
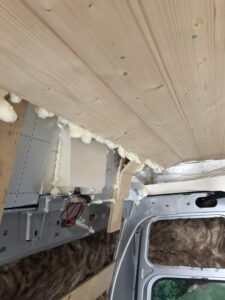
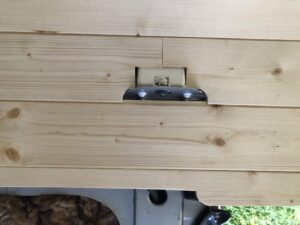
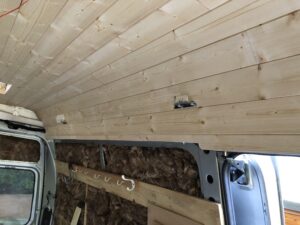
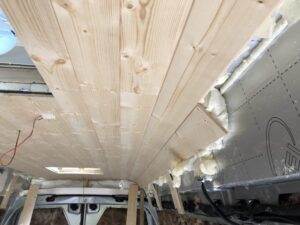
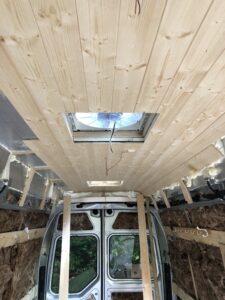
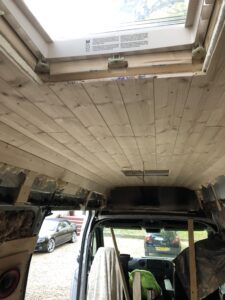
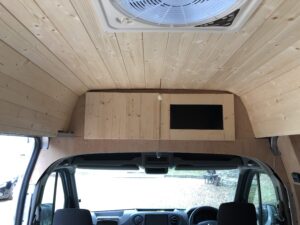
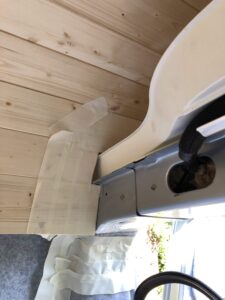
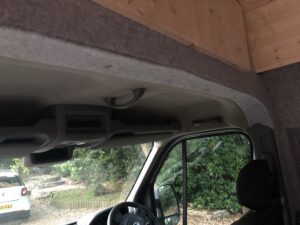
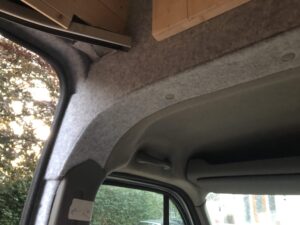
Glue and screwed strips of 12mm ply to the roof supports and the sides of the high roof. The spaces were then filled with sheets of Celotex and expanding foam. Countless hours spent measuring, cutting & trimming tongue & groove to match the curved contours of the roof. Neat trick was to cut partially cut one side of the groove off to allow a much sharper radius where the roof meets the side.
sealed lino floor
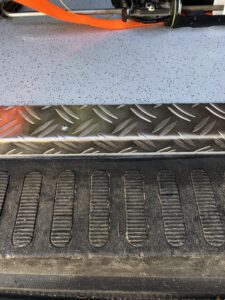
With my passion for kitesurfing and other ocean based sports, salt water is a major problem and caused the accelerated demise of our previous van (RIP). This hard wearing lino floor goes up the walls and is completely sealed. A robust metal edge protects the corner.
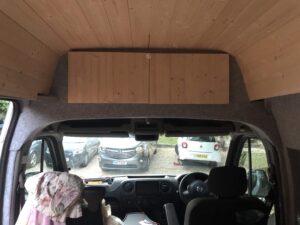
Above cab storage
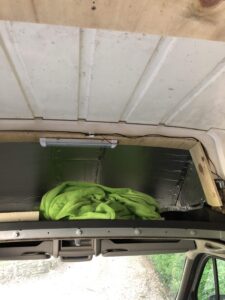
Scribing plywood panels to block off the above cab storage area was a decent challenge. I started using a biscuit cutter to create the door frames but then discovered the pocket screw cutter. Combined with wood glue this provides a quick and easy but strong joint and the was used extensively throughout the build.
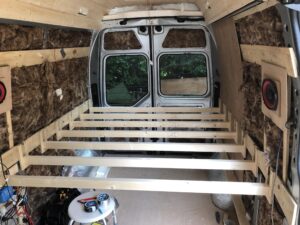
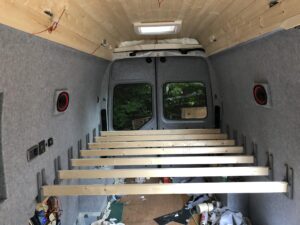
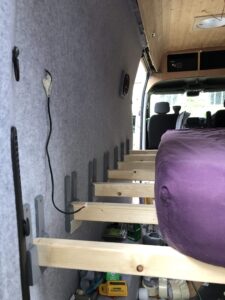
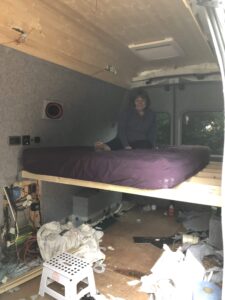
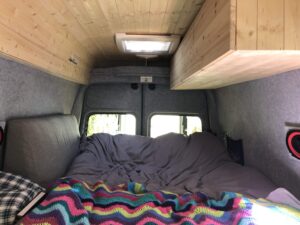
Full size double bed
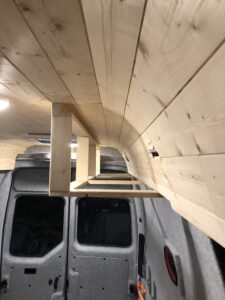
We originally planned to have a fully removable bed so we could still use the full load area of the van to do tip runs etc so we designed the 'U' shaped joist hangers. Once the local council said we can't bring a 3.5 ton van to the tip the bed became a permanent structure. The horizontal strips of 12mm play are glued and screwed to the metal panel supports and the hangers screwed to the plywood. The original idea was to use strips of ply to support the mattress to keep the weight down but these were too flexible (they were installed with the width in a vertical plane) even with 3 strips glued together so we changed to solid joists. The first full weight bearing test went without a hitch.
The Walls
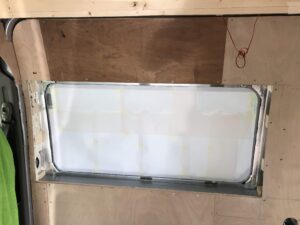
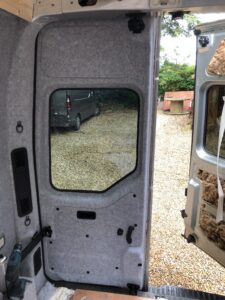
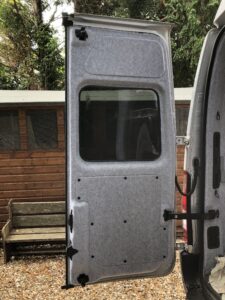
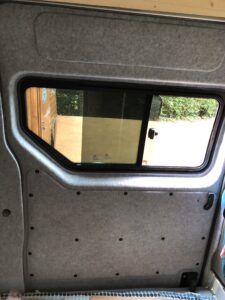
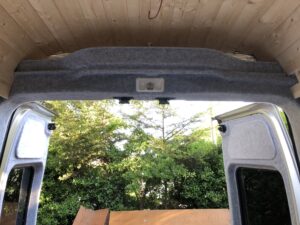
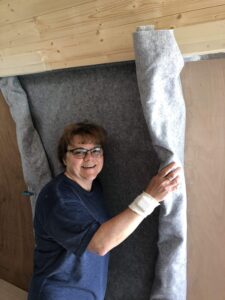
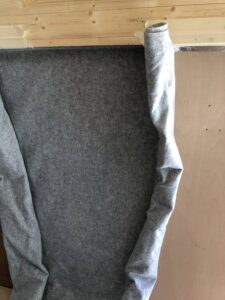
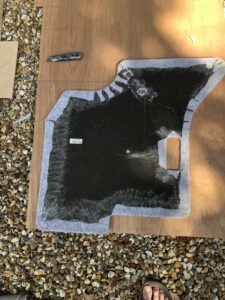
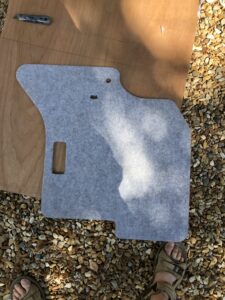
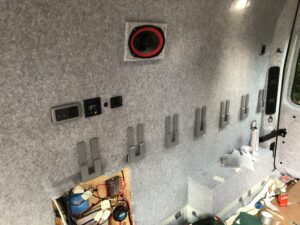
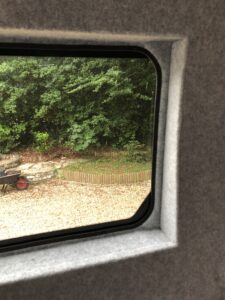
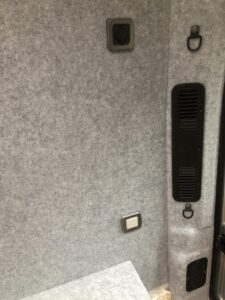
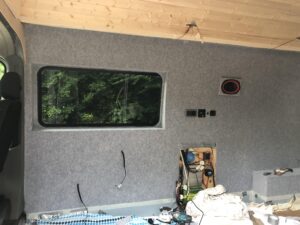
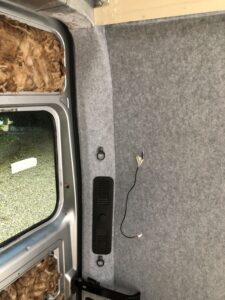
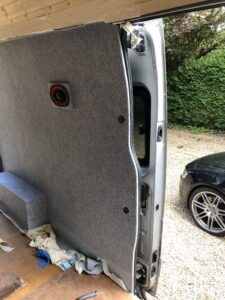
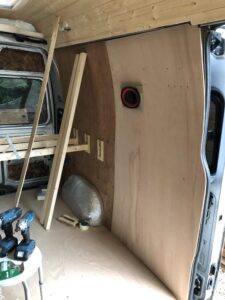
We managed to reuse a couple of the old plywood panels and cut new ones to fit around the new window and replace damaged ones. Lots of scribing and trimming to get window openings boxed in. We left a few of the 'D' ring securing points exposed and then covered the whole lot in grey 4-way stretch carpet. Door cappings were removed and covered separately. Many cans of spray contact adhesive later we were very satisfied with the end result.
Top tips:
- Replace your stanley knife blade very frequently to ensure clean cuts.
- For large surfaces roll the carpet and start from the middle working outwards
- Hold cardboard to protect areas when spraying glue as it goes everywhere!
- Cover windows with newspaper/masking tape
Don't forget the kitchen sink
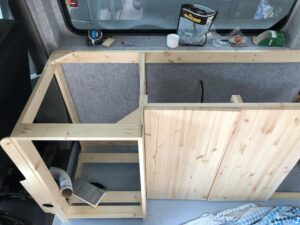
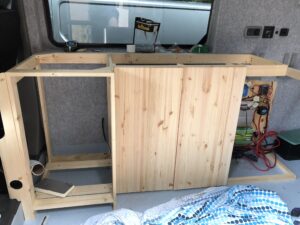
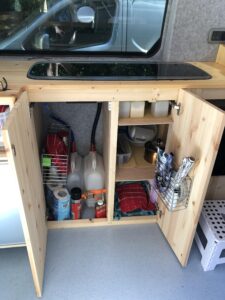
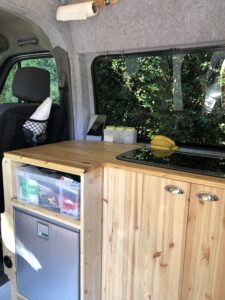
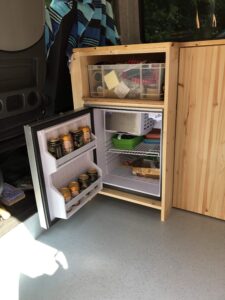
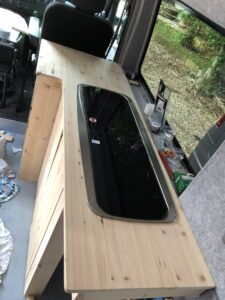
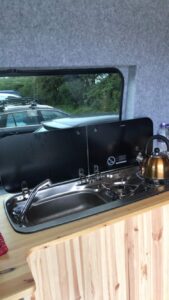
After many hours of working through different layouts for the seating area, cupboards, fridge and combined sink & double gas burners we built the sink unit under the window. Key considerations were the location of the fridge to allow sufficient airflow for cooling and not getting in the way of the hot air from the diesel heater under the driver's seat.
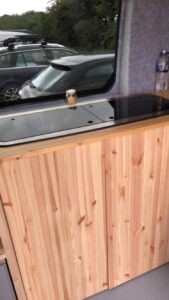
The right hand cupboard space is wider than the door to allow the door to open fully when the bench seat is folded down.
The worktop was cut from a sheet of 18mm pine board and given 3 coats of Danish oil.
The left hand cupboard has two 10L containers, one for fresh water and one for grey water. I modified the spouts to seal around the electric water pump and sink waste outlet pipe and are left in place when driving without any issues. A ratchet strap keeps them secure but quick to replace. We carry 10 fresh water containers with each one lasting about a day.
WATER storage
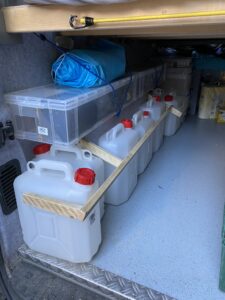
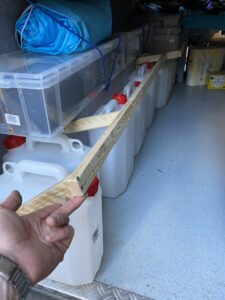
We needed a secure but quick and easy to access method of storing our nine spare 10L fresh water containers (the 10th is in use under the sink). The wooden bar simply pivots up but stops the containers sliding around.
Gas & Electrics
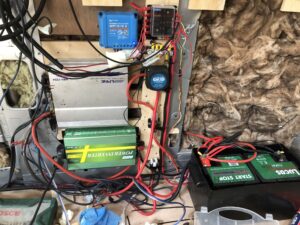
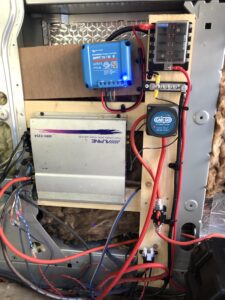
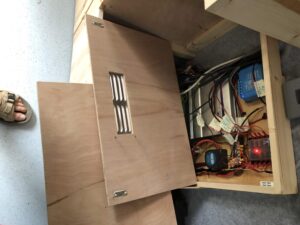
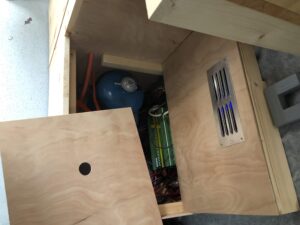
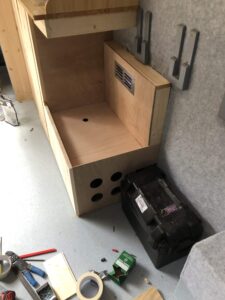
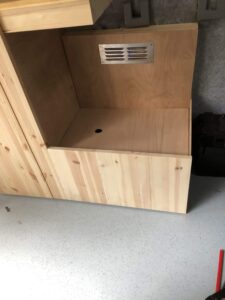
We boxed in the electrics and built a housing for two gas cylinders. Each gas cylinder lasts about 6 weeks, we mainly use gas for making cups of tea and cooking during the winter. During the summer our excellent fan assisted charcoal BBQ gets used most days.
We have a 110Ah leisure battery that is charged by a roof mounted 120W solar panel and via a split relay from the alternator when the engine is on. We carry a 1200W petrol generator during the winter to top up the battery as the sun's angle is much lower and some days the solar panel just isn't enough. The generator plugs into an electrical mains hook up under the bonnet which comes into a 16A mini consumer unit and from there into a smart battery charger.
A 1000W inverter takes the 12V DC battery power and converts it to 240V AC so we can charge laptops/toothbrushes and it will happily run most of my power tools.
There are two 12V cigarette lighter outlets by the rear doors, one powered by the starter battery and one from the leisure battery. There are USB ports all over the place and we have LED mood lighting above the rear doors.
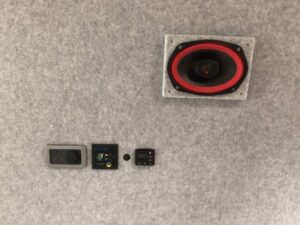
You can't do a van road trip without sounds so there is a 4 channel 200W amp that powers two 6*9" speakers in the walls and two 6" units in the front doors. This is controlled by an Alpine head unit with a 9" display and with Apple CarPlay so also gets used for navigation via the excellent Waze app.
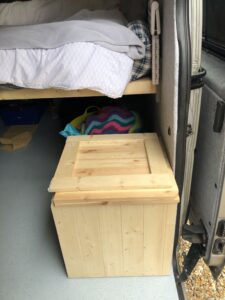
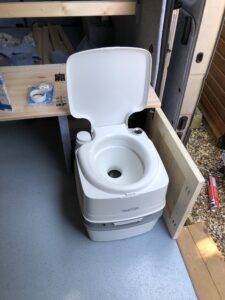
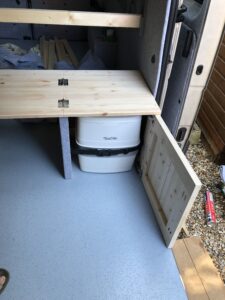
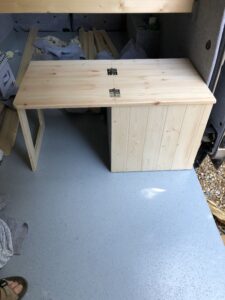
loo with a view
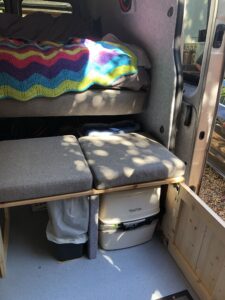
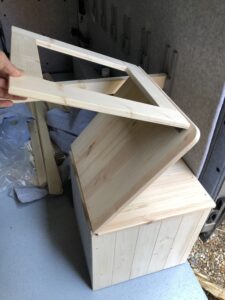
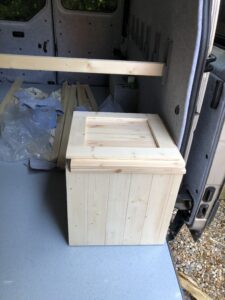
One of the key design decisions was to try and keep a large load area for inflated SUPs/Kites and trips to DIY stores so we didn't want a large fixed bench. We also need to store the portable toilet but maintain easy access.
Overhead cupboArds
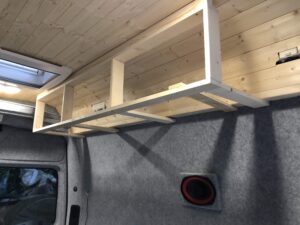
Trying to build overhead cupboards with not a straight edge or level surface to be found was a challenge. Initially used gas struts to hold doors open but they were too powerful. Currently have blobs of Sugru to dampen the vibration from the doors when driving but need a better solution.
Yes Captain
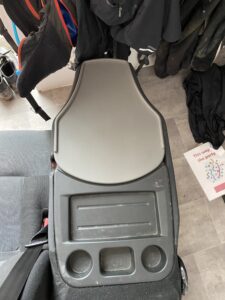
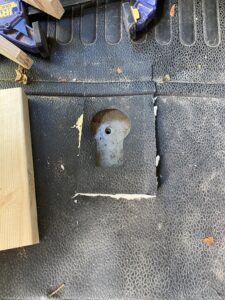
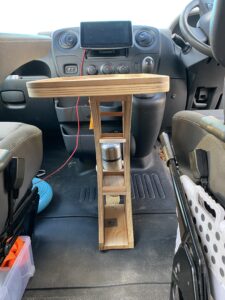
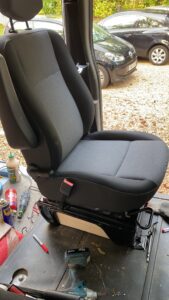
The captain requested a comfortable single chair that reclined and swivelled so out came the double bench seat and in went the captain's chair. This left holes in the floor and a lack of table between the passenger & driver seats as most of the time we drove around with the middle chair folded flat.
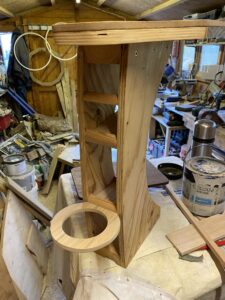
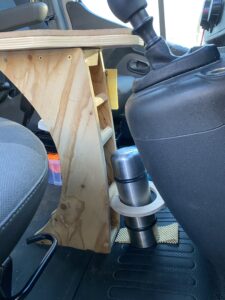
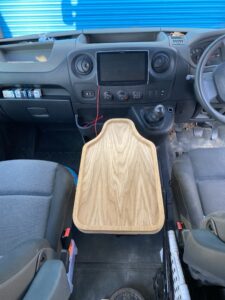
The table design needed to be very strong as I often lean on it when putting the front thermal screens up for the night but also wanted to retain as much storage space behind it as possible. The design evolved to include a thermos flask holder with a tray for bits & bobs and a sloping shelf to hold maps/small books. The console is secured to the floor using one of the the existing 10mm bolt holes from the bench seat.
Wheel arch storage
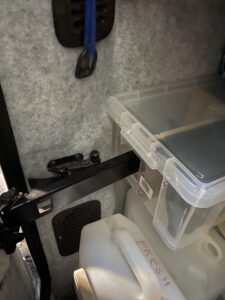
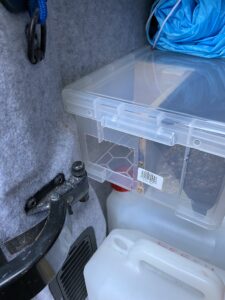
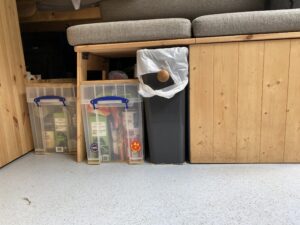
We thought we had the perfect storage solution for above the wheel arch utilising 4 Really Useful boxes that fit perfectly...until you try to close the rear door. Solution was to cut a hole for the door arm to go into and a partition within the box to keep it clear.
Under bed box
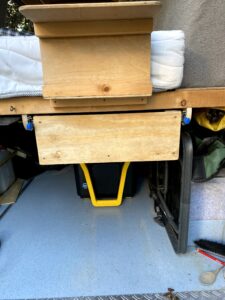
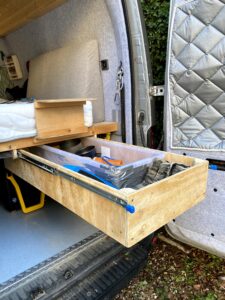
We installed a couple of 900mm runners with 120Kg load capacity and a custom made plywood box that slides in and out for those items you need quick access to. The runners extend to the full 900mm and lock both in and out.
Finishing touches
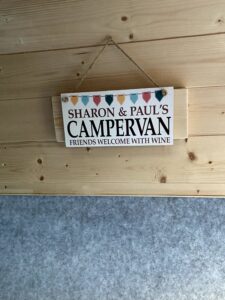
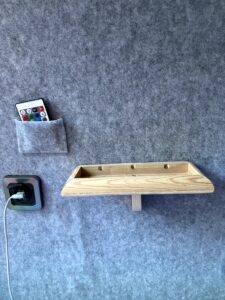
Cunningly glued a fun sign over one of the roof fixings but retained the hanging string. Small velcro pouch sticks to the wall and holds the remote control for the LED mood lighting and small bed side shelf for your phone and watch.
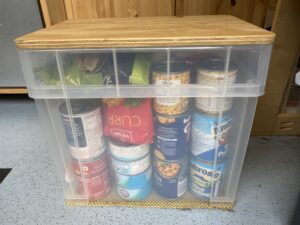
Added wooden tops and non-slip material to a couple of Really Useful boxes for storage and they double up as a step to help get in and out of bed.
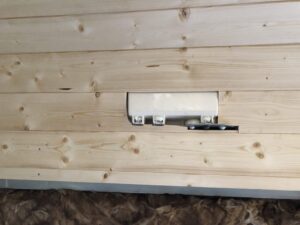
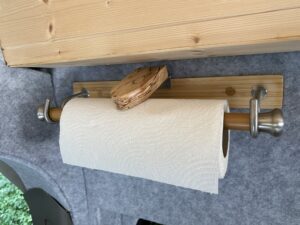
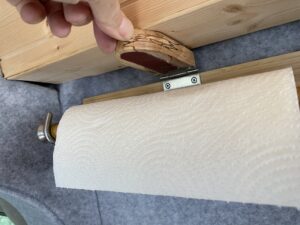
We had to add a 'tongue' with a bit of sandpaper to the kitchen roll dispenser after the whole roll unwound while driving with the window down!
A couple of die cut vinly stickers added to the rear and sides of the van hopefully hellps spread the Vantics word.
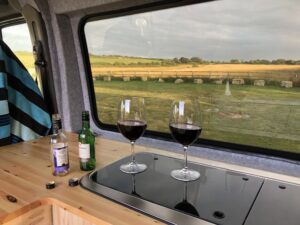
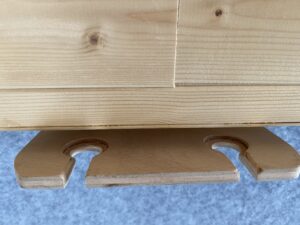
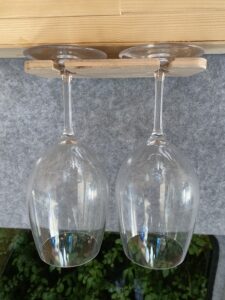
Obviously the most important part of any van conversion is the wine glass rack!

